
Mini Tutorial: Use Amazon SQS as a Celery Message Broker
Amazon Simple Queue Service (Amazon SQS) is a fully managed message queuing service provided by Amazon Web Services (AWS).
It is designed for reliability, resilience, fault tolerance and scalability. Any number of messages between any number of systems, at any volume and without loss. Without the overhead of managing dedicated messaging software and infrastructure. In this this article, I will:
explain what SQS is and how it works
talk about costs
discuss when SQS as a Celery message broker is (not) a good idea
create and configure an SQS queue
configure Celery for SQS
How does Amazon SQS work?
Communication between producers/consumers and SQS is via HTTP/HTTPS. Consumers (workers in Celery jargon) actively request messages from a queue via HTTP/HTTP. Both short and long polling are supported.
When a consumer receives a message from a queue, the message remains in the queue. To prevent other consumers from processing the same message, SQS makes the message invisible to other consumers for a set length of time. This visibility timeout begins when SQS returns the message to the consumer.
It is the consumer’s responsibility to delete the message from the queue after processing it. SQS only deletes a message from the queue when it reaches the end of a (configurable) retention period (default 4 days).
If the consumer fails to delete the message before the visibility timeout expires, the message becomes visible again and as a result available to other consumers.
SQS offers two types of message queues: Standard and FIFO (first in, first out).
SQS Standard Queue
Standard queues support very high throughput and can handle a nearly unlimited number of transactions per second:
messages might be delivered in a different order than they were sent
messages are delivered at least once but may be delivered more than once even when completed within the visibility timeout
responsibility for not processing a message more than once lies with the consumer
SQS FIFO Queue
FIFO queues can handle up to 3000 messages per second:
messages are delivered exactly once
message ordering is strictly preserved (first in, first out)
Costs
The first one million SQS requests per month are free. After that, prices start at $0.40 per million requests, depending on the region. A request is not the same as a message. So what counts as an SQS request?
every Amazon SQS API action counts as a request
pushing a message to SQS is one request
SQS is polling based, every time a consumer polls a queue, it counts as a request (ka-ching!)
a single request can have up to 10 messages / max total payload of 256 KB
every 64 KB chunk of a message is a request, a 128 KB payload is billed as 2 requests
the worker startup stuff like creating a queue, and listing existing queues are all requests
One million requests translate roughly to one request every two seconds. It is a number with many caveats (see above), but it gives you an idea of which bracket your app falls into. For the whole SQS pricing shebang, check out the Amazon SQS Pricing Details.
SQS as a Celery message broker
SQS shines when it comes to high availability, high-throughput and guaranteed at-least-once delivery. To me, the no-loss guarantee is its most compelling feature. I like its proven polling-based architecture.
SQS is a reliable workhorse, solid but a bit slow. If you are after a fast sports car, SQS is not for you. Note that some worker remote control commands are unavailable with SQS. Because SQS does not support events, you cannot use Celery events, celerymon, flower or the Django Admin monitor.
Tutorial: Run Celery with SQS
I assume you have an AWS account and some familiarity with the AWS Management Console. If you are completely new to AWS, make sure to create an AWS account first.
You can create SQS queues without the AWS management console using the AWS CLI or directly via Celery. Drop me an email at bjoern.stiel@celery.school, and I will give you some pointers.
Step 1: Create an SQS Queue
Log into the AWS Management Console, and use the search bar at the top to find “SQS”. It will suggest a list of services as you type. Click on “Simple Queue Service”. Next, hit “Create queue”. This takes you to the view which allows you to create a queue.
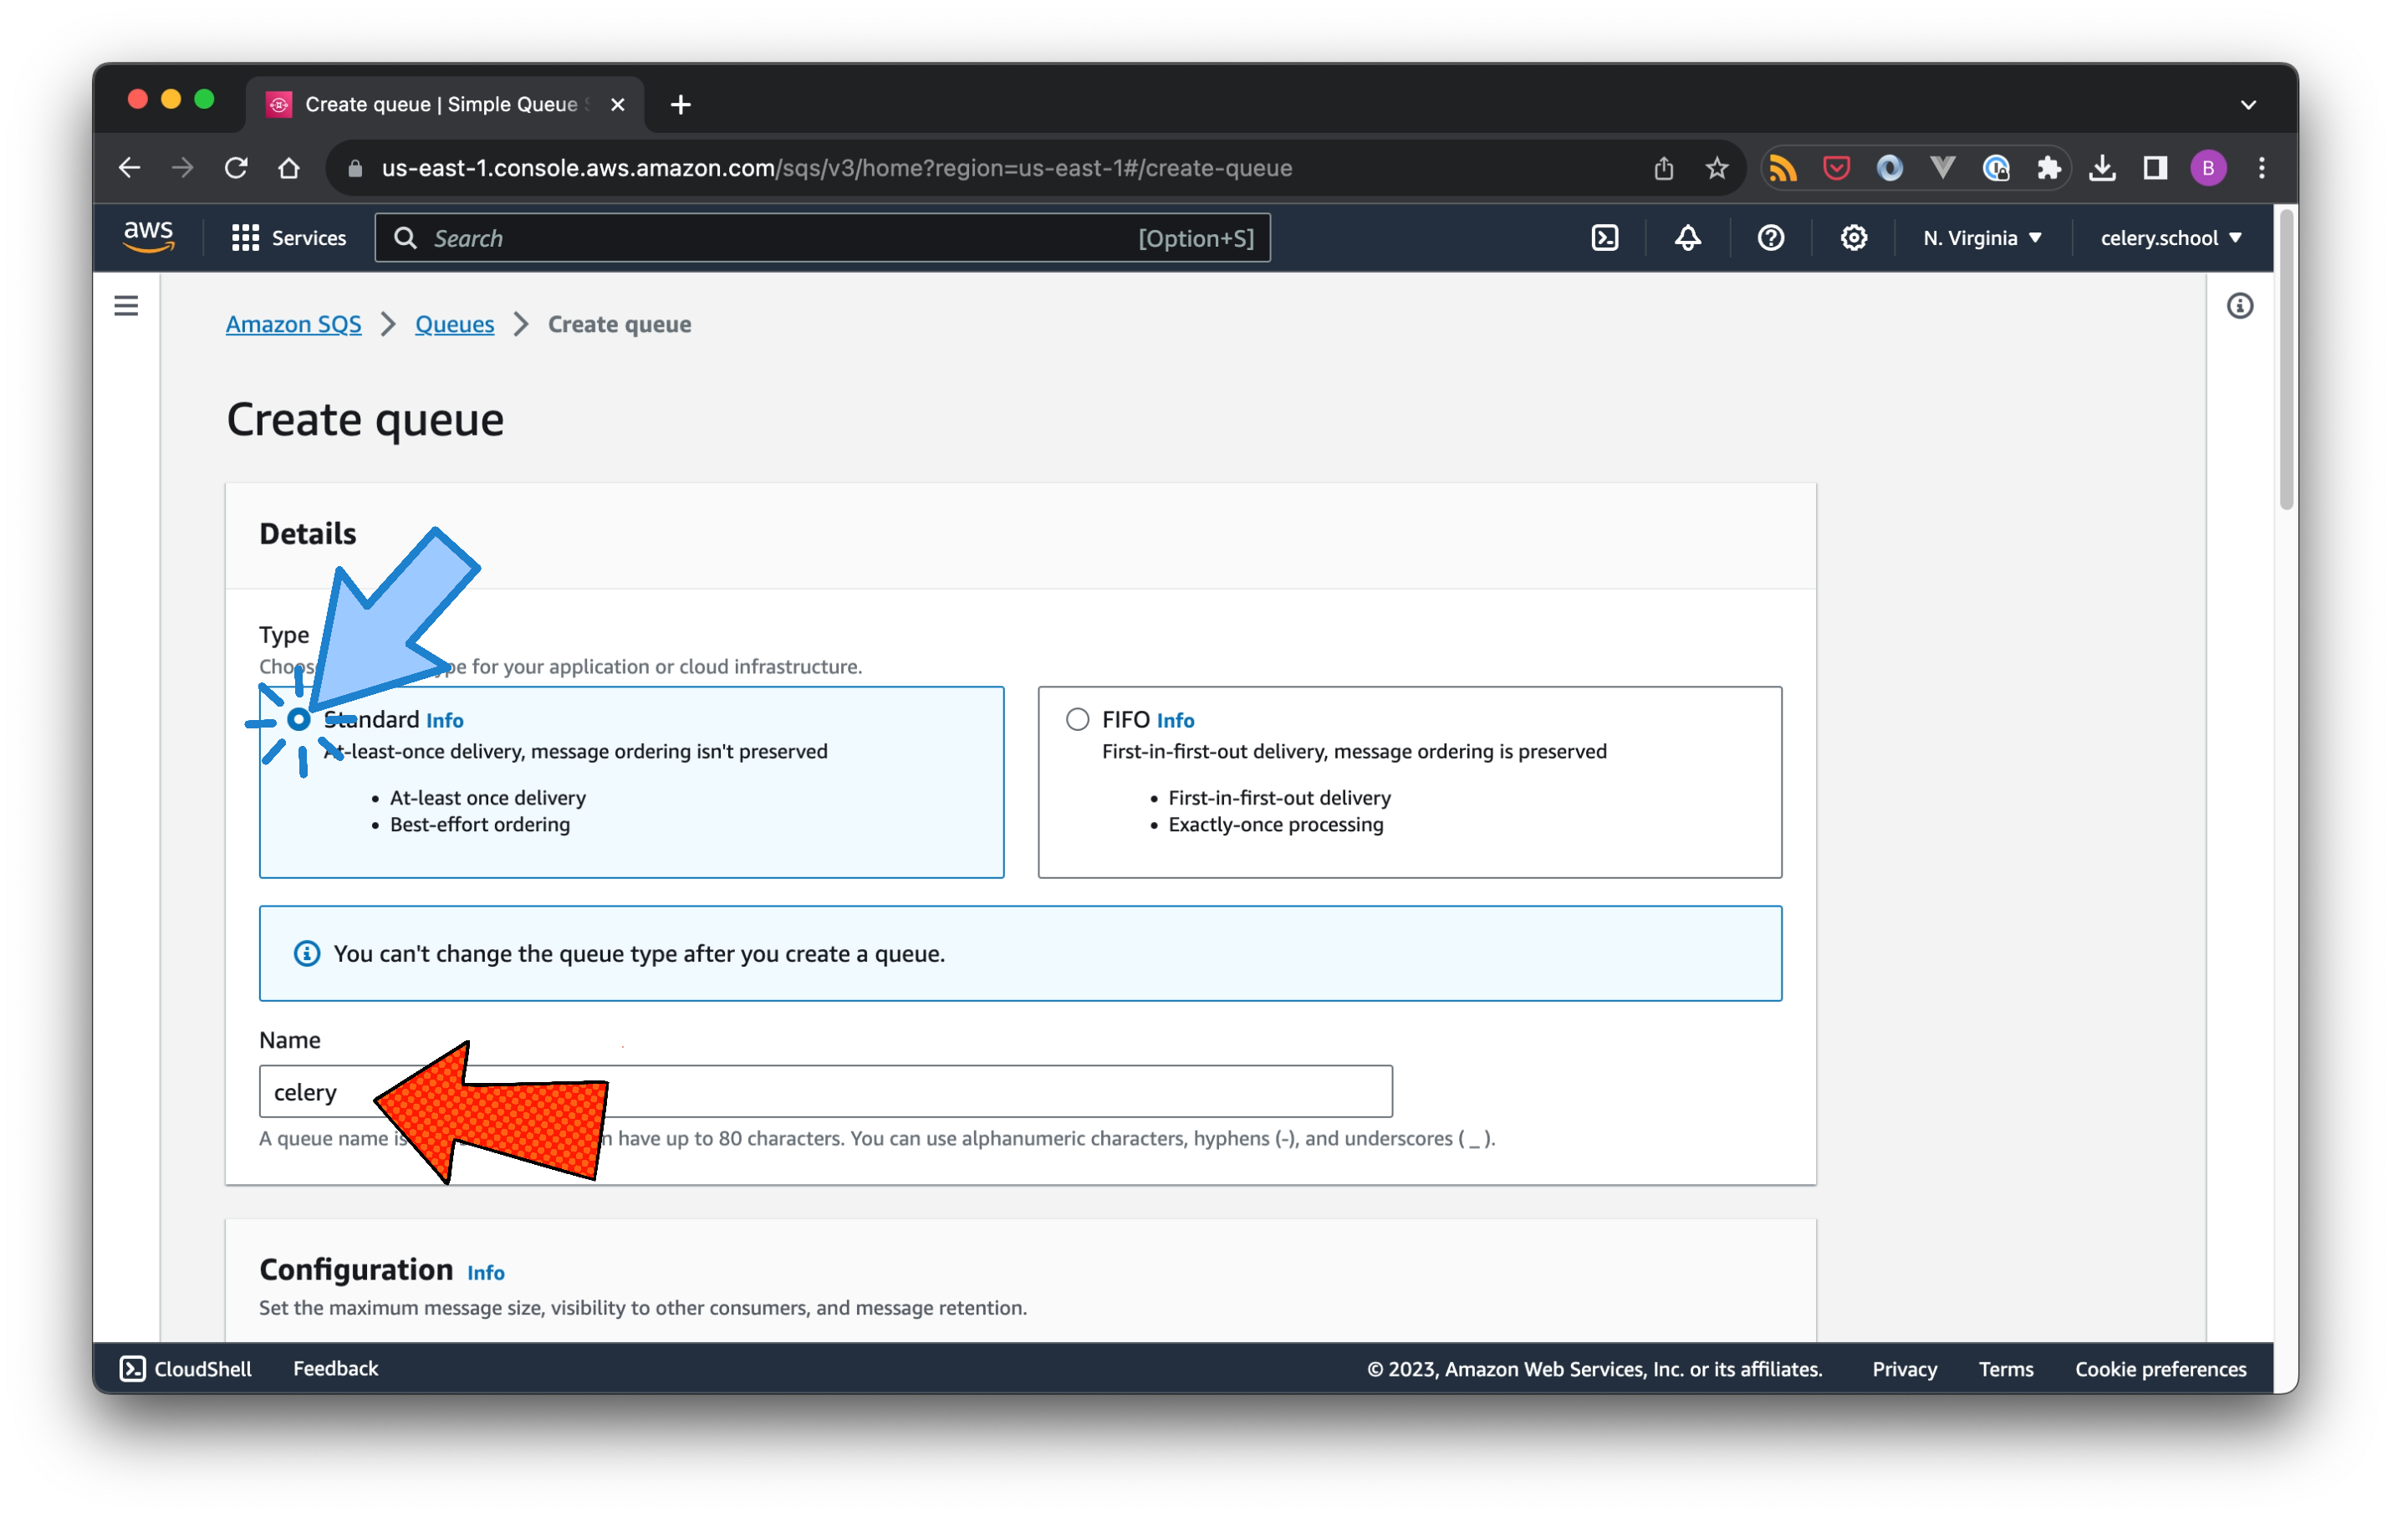
Select the queue type. If you are unsure, use Standard. I will touch upon a few FIFO aspects in this tutorial, however, they come with some nitty-gritty details which merit a separate article.
Choose a name for a queue and note that queue type and name cannot be changed once you have created the queue.
Next up are the queue settings (which can be changed later). Note that I am switching from SQS to Celery terminology now:
Visibility timeout: the amount of time a task, received by a worker, is invisible to other workers; this should match the time of your longest-running task, including countdown, ETA and retry
Delivery delay: when a new task is created, it remains invisible to all workers for the time specified here
Receive message wait time: controls the maximum amount of time that polling will wait for messages to become available to receive (long polling); if you want to minimise costs, set this to the maximum value (20s)
Message retention period: the amount of time a message is retained on the queue; depends very much on what you do, eg if you have very long running once-a-day tasks 1-2 days might be appropriate, and a few minutes might be enough for many short running tasks
Maximum message size: maximum size of a message
There are additional settings for FIFO queues:
Content-based deduplication: when enabled, the message deduplication is based on content (as opposed to a unique message ID)
High throughput FIFO queue: configures the FIFO queue for maximum throughput; without going too much into the details, this limits your choice on the deduplication scope;
Deduplication scope and FIFO throughput limit: message deduplication and throughput limits can be configured either per queue or per message group within a queue (based on a message group ID)
SQS provides in-transit encryption by default. This means that messages are encrypted while being sent from the producer to SQS and down to the Celery worker.
To add at-rest encryption to your queue (ie message encryption while in the queue), enable server-side encryption. Unless you know what you do (I don’t), go with the Amazon SQS key (SSE-SQS) default option.
Now the painful part: Access Policy. This very much depends on your requirements. Assuming you want to give every user in your AWS account access to all SQS actions on your queue (a very big assumption, please adjust as necessary), select the “Advanced” (JSON object) option and go with the default:
{
  "Version": "2012-10-17",
  "Id": "__default_policy_ID",
  "Statement": [
    {
      "Sid": "__owner_statement",
      "Effect": "Allow",
      "Principal": {
        "AWS": "..."
      },
      "Action": ["SQS:*"],
      "Resource": "..."
    }
  ]
}
The AWS access key and secret (which can be created and found in the AWS Management Console under IAM/Users) for a permissioned user will now give you access to the SQS queue.
In a production environment, much more fine-grained control would be adequate. For example, the Celery worker would be permissioned on ReadMessage and DeleteMessage actions. And the producer would be permissioned on SendMessage actions.
Step 2: Install dependencies
You can find the code example on GitHub: https://github.com/bstiel/celery.school-sqs
Celery requires a few additional dependencies to work with SQS:
boto3 (AWS SDK for Python)
pycurl (libcurl Python bindings)
Install the additional packages individually or the complete Celery SQS bundle:
$ pip install 'celery[sqs]'
If you are on a Mac, chances are that you run into a pycurl issue. If you do, shoot me an email at bjoern.stiel@celery.school.
Step 3: Configure Celery
To configure Celery, three things are required:
AWS Access Key
AWS Secret Key
the SQS queue URL
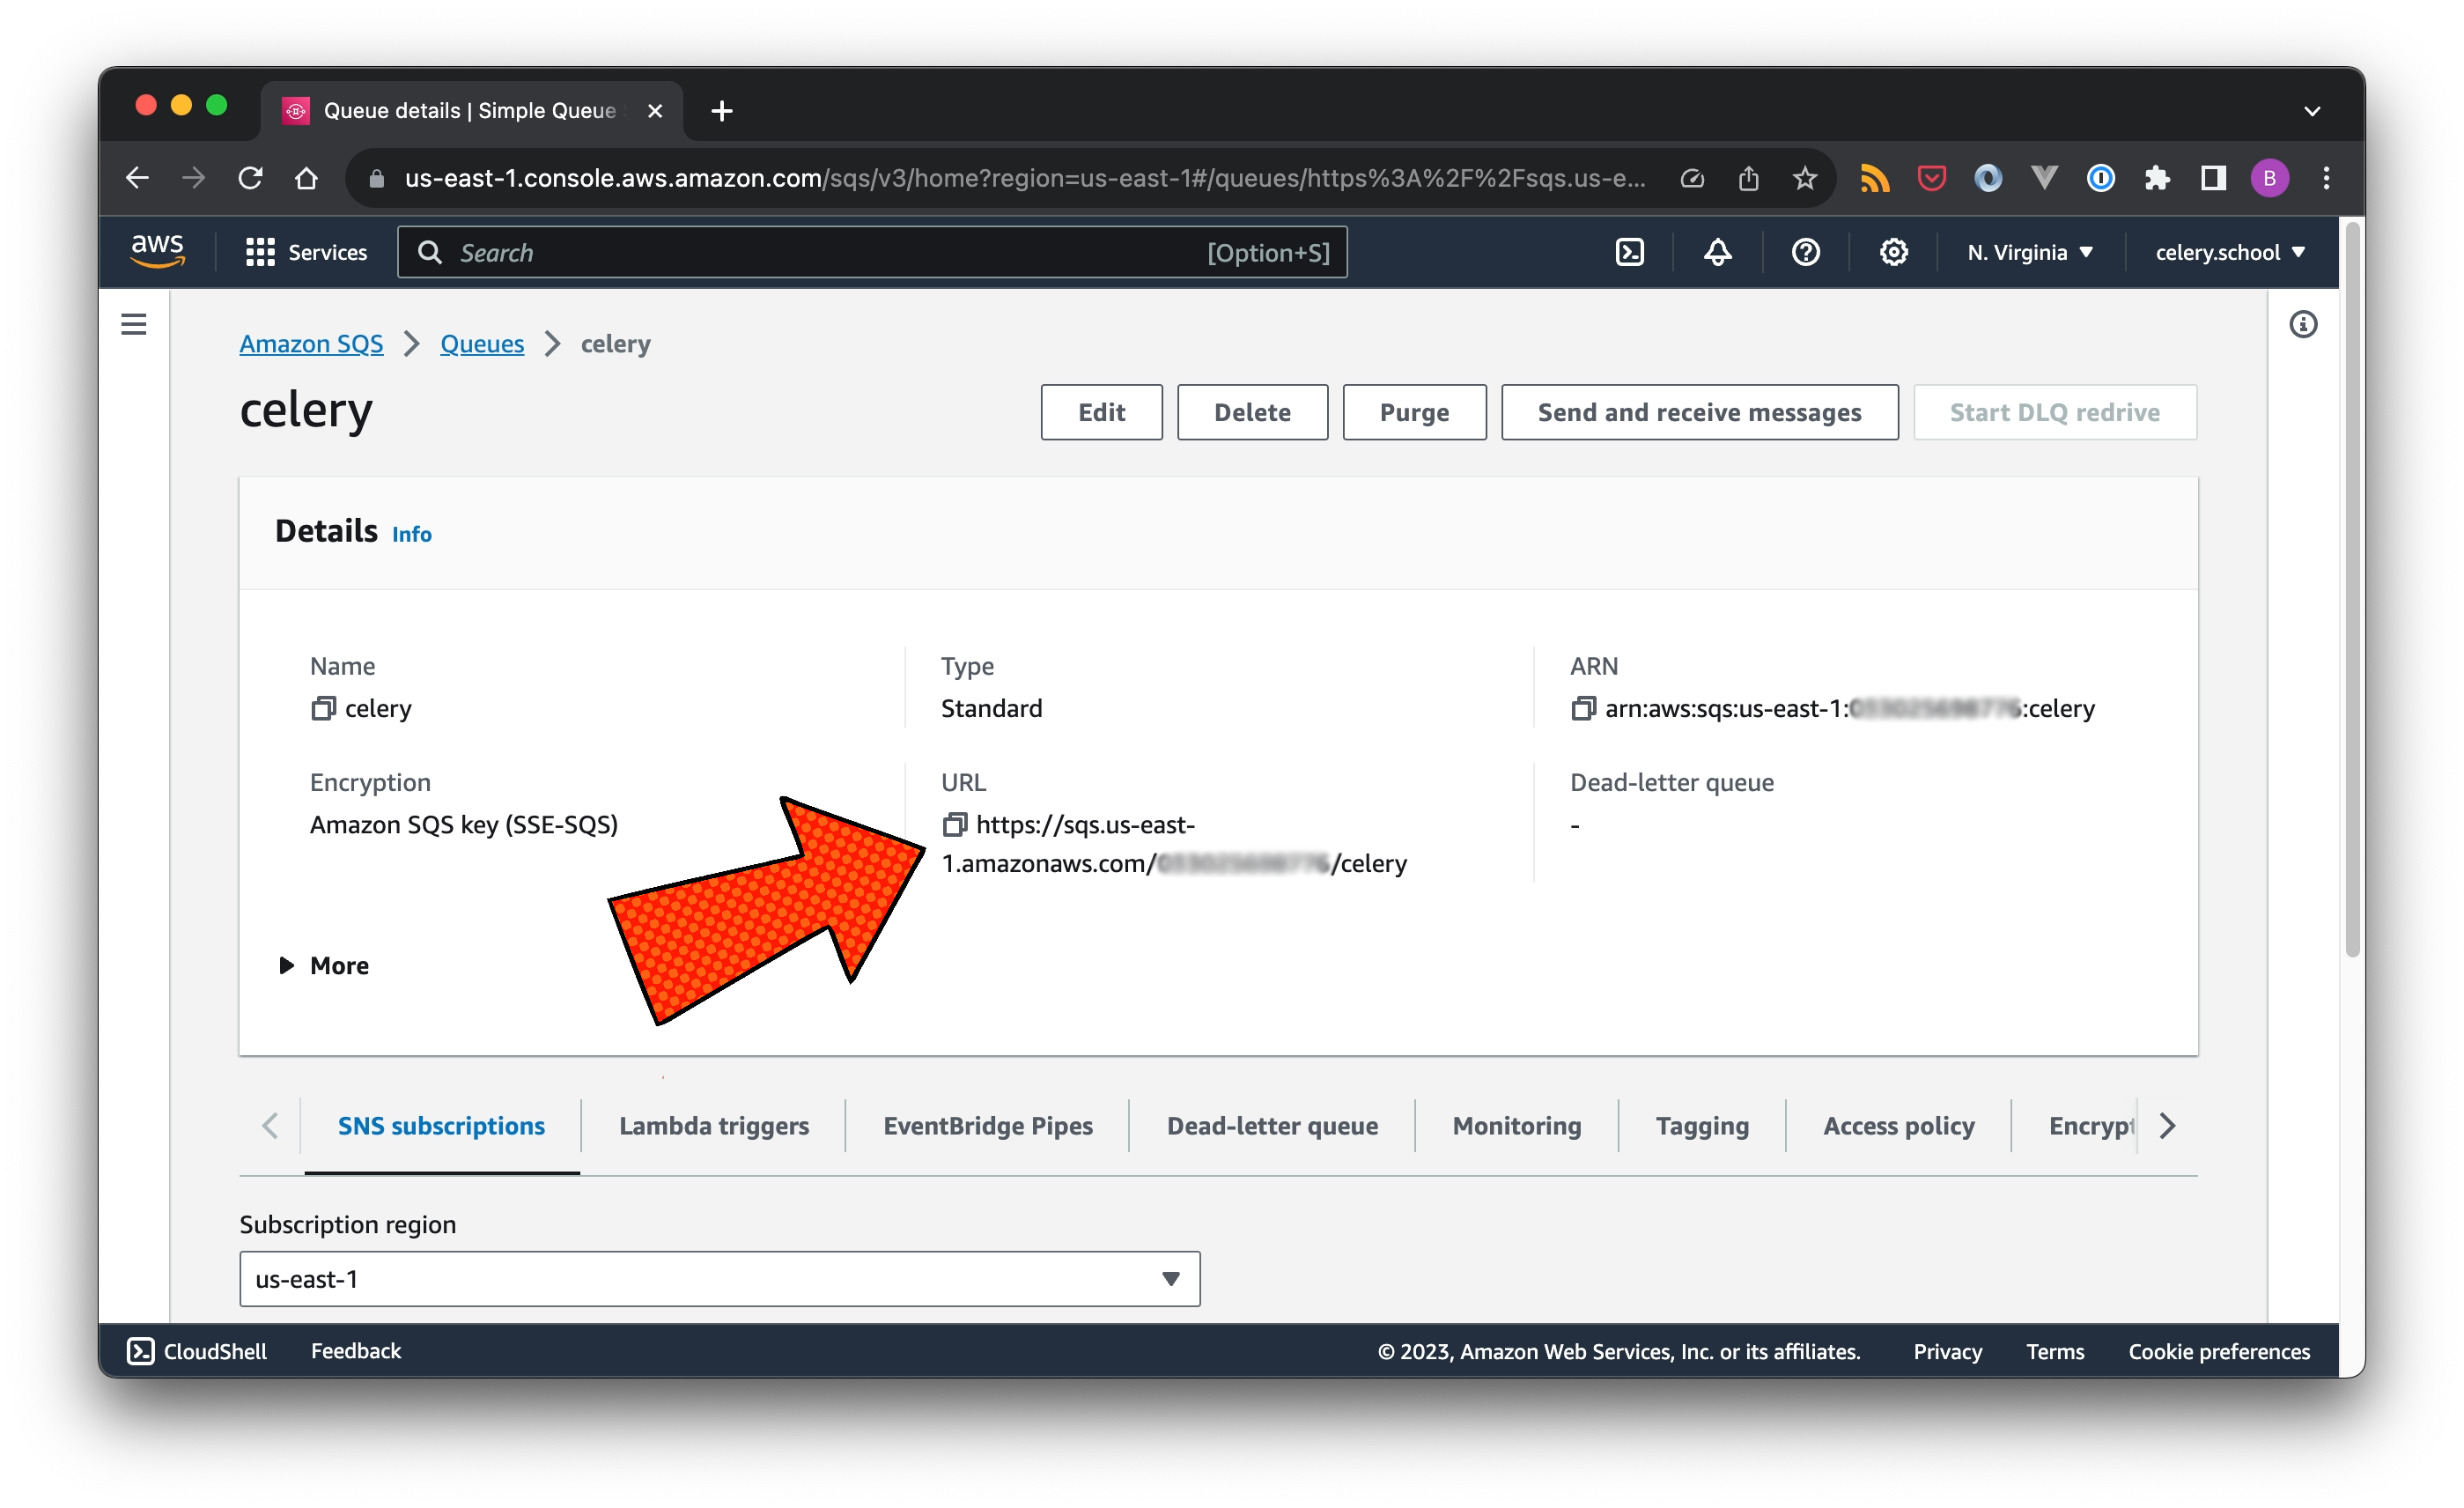
AWS Access Key and AWS Secret Key are attached to the corresponding IAM user. The SQS queue URL can be found in the AWS Management Console under SQS/Queues.
By default, Celery creates queues automatically as they are being requested by the application logic. I prefer to have full control of this. To prevent this from happening, set task_create_missing_queues to False. And use broker_transport_options.predefined_queues to mirror the actual SQS queues that I created in step 1.
from celery import Celery

sqs_queue_url = "..."
aws_access_key = "..."
aws_secret_key = "..."

app = Celery(
    "app",
    broker_url=f"sqs://{aws_access_key}:{aws_secret_key}@",
    broker_transport_options={
        "region": "us-east-1", # your AWS SQS region
        "predefined_queues": {
            "celery": {  ## the name of the SQS queue
                "url": sqs_queue_url,
                "access_key_id": aws_access_key,
                "secret_access_key": aws_secret_key,
            }
        },
    },
    task_create_missing_queues=False,
)
Step 4: Run
Check out my GitHub repository: https://github.com/bstiel/celery.school-sqs if you have not done so yet. Use honcho to start the producer and worker (defined in the Procfile) simultaneously:
```bash
$ honcho start
13:36:41 system     | producer.1 started (pid=29441)
13:36:41 system     | worker.1 started (pid=29440)
13:36:42 worker.1   |
13:36:42 worker.1   |
13:36:42 worker.1   |
13:36:42 worker.1   | celery@** v5.3.0 (emerald-rush)
13:36:42 worker.1   |
13:36:42 worker.1   | [config]
13:36:42 worker.1   | .> app:         app:0x102ec8c10
13:36:42 worker.1   | .> transport:   sqs://**:**@localhost//
13:36:42 worker.1   | .> results:     disabled://
13:36:42 worker.1   | .> concurrency: 1 (solo)
13:36:42 worker.1   | .> task events: OFF (enable -E to monitor tasks in this worker)
13:36:42 worker.1   |
13:36:42 worker.1   | [queues]
13:36:42 worker.1   | .> celery           exchange=celery(direct) key=celery
13:36:42 worker.1   |
13:36:42 worker.1   |
13:36:42 worker.1   | [tasks]
13:36:42 worker.1   |   . do_something
13:36:42 worker.1   |
13:36:42 worker.1   | [2023-11-15 13:36:42,246: INFO/MainProcess] Connected to sqs://**:**@localhost//
13:36:42 worker.1   | [2023-11-15 13:36:42,784: INFO/MainProcess] celery@** ready.
13:36:42 producer.1 | INFO:__main__:203f94fa-6196-442c-ae17-1c4c3cda2966
13:36:43 worker.1   | [2023-11-15 13:36:43,233: INFO/MainProcess] Task do_something[203f94fa-6196-442c-ae17-1c4c3cda2966] received
13:36:43 worker.1   | [2023-11-15 13:36:43,238: WARNING/MainProcess] Message received
And that’s a full task round trip: producer => SQS => worker.
Final thoughts
This article was all about helping you understand was SQS is and how to set it up as a Celery message broker.
In my experience, SQS is a reliable, highly available message broker and a real alternative to Redis and RabbitMQ. SQS can be a great choice, especially if your infrastructure is already on AWS.
There are more details to cover, especially around coordinating Celery and SQS configuration. If you have any questions on this, please reach out via email bjoern.stiel@celery.school or comment below 👇.